Step-by-Step Guide: Installing Function and Form Leveling Lift Kit for Toyota RAV4 Hybrid 2018+

Are you looking to upgrade your Toyota RAV4 Hybrid 2018+ with a leveling lift kit? Function and Form have got you covered! Here’s a comprehensive guide on how to install their leveling lift kit for both the front and rear of your vehicle. In these instructions we will be installing 2.5″ Front and 1.5″ Rear Leveling Lift Kit
Parts List:
Tools Needed:
Jack, Safety Stands, Trim removal tool
Metric Wrench/Socket: 24mm, 22mm, 21mm, 19mm, 18mm, 17mm, 16mm, 14mm, 12mm, 10mm
Front Installation:

1. Raise Vehicle: Begin by securely raising your vehicle at designated spots using a jack or lift to ensure safety during the installation process.
2. Remove Lug Nuts: Utilize a 21mm socket to remove the lug nuts from the wheels, allowing you to access the suspension components.
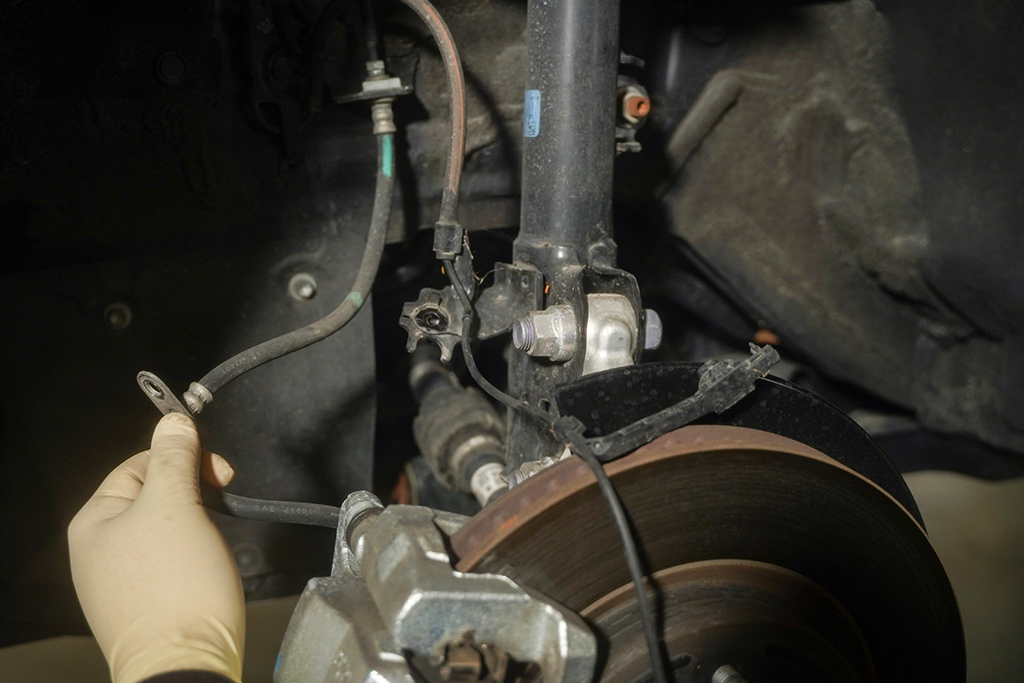
3. Remove ABS/ Speed Sensor/ Brake Line Bracket: Employ a trim tool a 10mm and 14mm socket to carefully remove the ABS/speed sensor and Brake line bracket, ensuring it’s disconnected to avoid any damage during the installation.

4. Detach Sway Bar End Link: Use a 17mm socket to remove the top sway bar end link nut, then detach the end link from the strut. Apply pressure to end link against mounting position to help release stubborn nuts.

5. Unbolt Lower Mount: Utilize a 22mm wrench and socket to remove the lower mount bolts, enabling you to release the strut from assembly. Make sure to keep strut assembly as close to the engine after releasing the strut to avoid the axel from popping out.
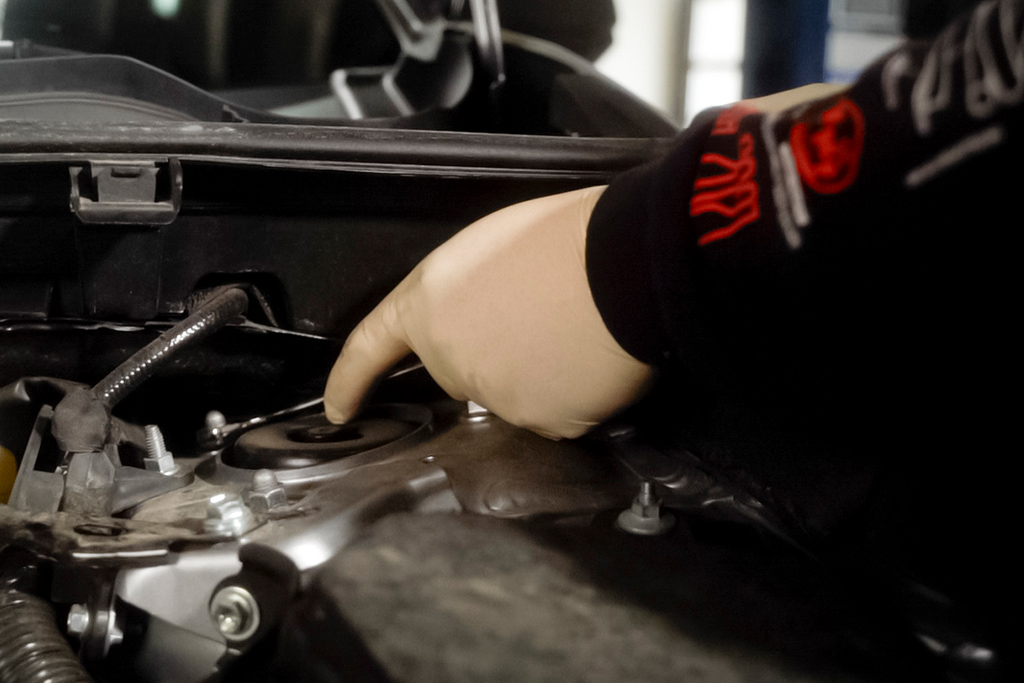
6. Remove Top Hat Nuts: With a 14mm socket, remove the top hat nuts. It’s recommended to remove the front two bolts first to facilitate easier access to the third one. This will release the strut so be prepared to catch it as you loosen the top hat bolts.

7. Install Front Strut Spacer: Securely attach the front strut spacer to the OEM strut using 14mm hardware 30ft-lbs. ensuring it’s properly aligned.
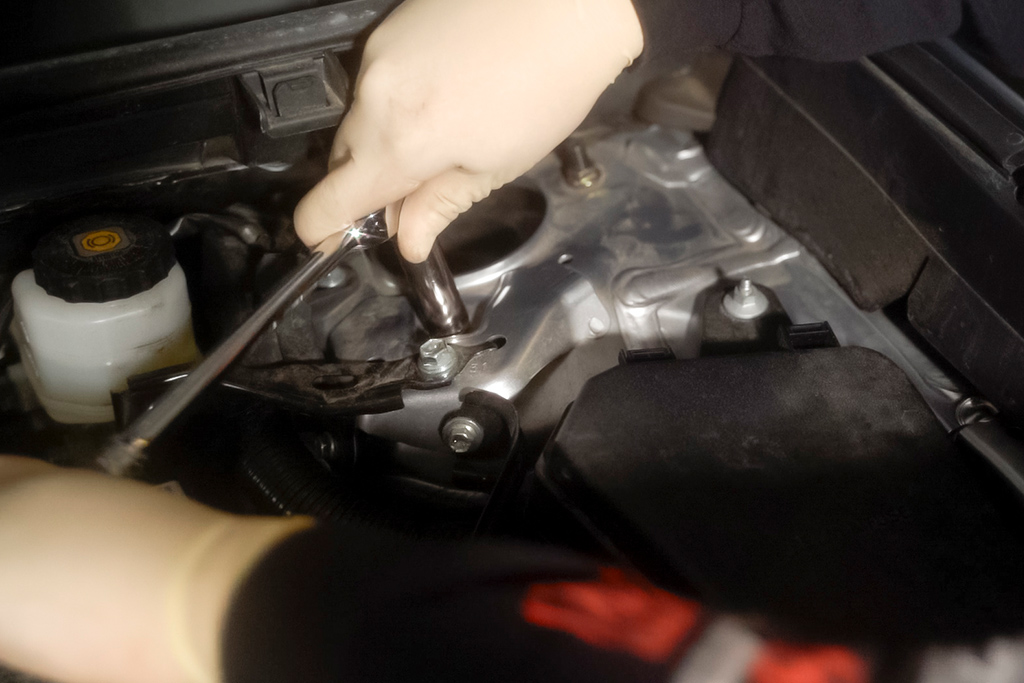
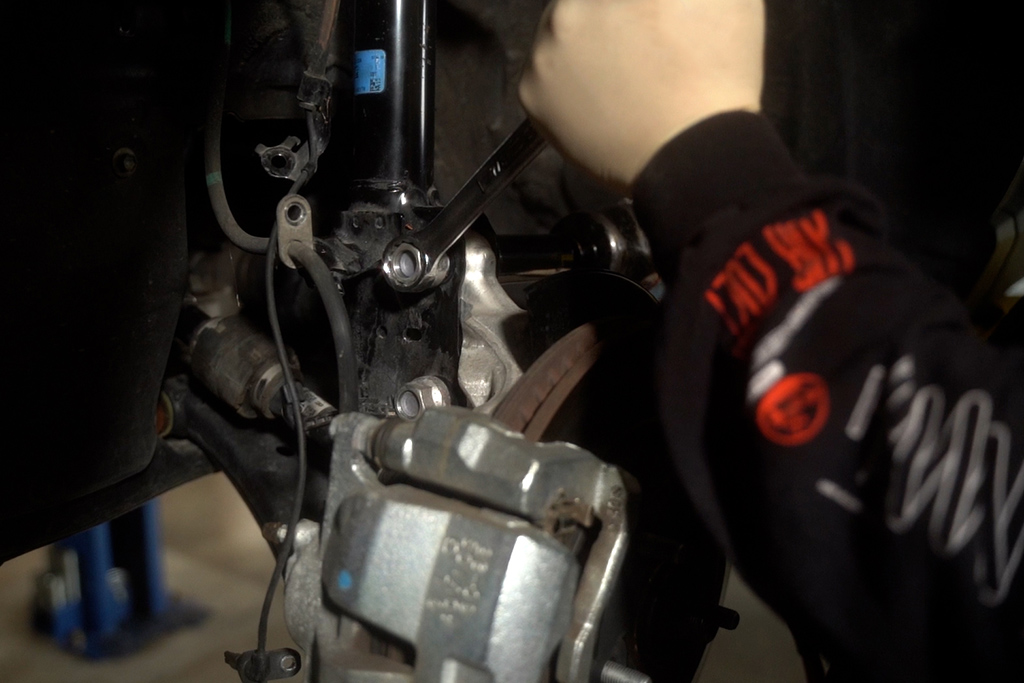
6. Reinstall Strut: Slide the strut assembly back into position and hand-tighten the top mount hardware. Place the lower mount bolts to prevent the axle from misalignment. Torque the 14mm top hat nuts to 30ft-lbs and the 22mm lower mount bolts to 110ft-lbs.

8. Attach End Link Extender: Apply the end link extender with the fold facing down and secure it with a 18mm bolt to 45ft-lbs.
9. Reinstall ABS/Speed Sensor and Brake Line: Using a 10mm and 14mm socket, reconnect the ABS/speed sensor and brake line to its original position.

10. Install Wheels: Place the wheels back onto the vehicle and securely fasten them with the 21mm lug nuts at 75ft-lbs.
Rear Installation

1. Remove Wheel: Utilize a 21mm socket to remove the lug nuts from the wheels, allowing you to access the suspension components.

2. Jack Up Rear Subframe: Lift the rear subframe using a jack to support for the installation process.
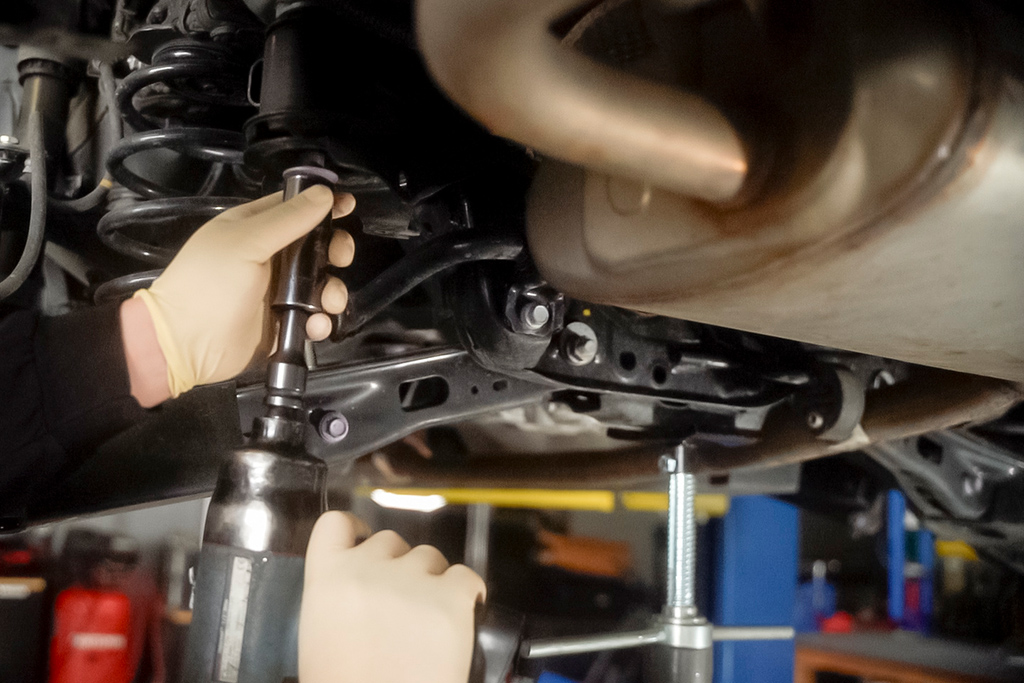
3. Loosen Subframe Nuts: While the subframe is supported slowly loosen the (4) 22mm nuts to lower the rear end evenly for the installation of rubber spacers above the subframe.

4. Remove Subframe Support: Remove the two subframe support mounts with a 12mm socket and replace with (2) Subframe Support mounts and loosely hand tighten the 12mm nut giving you room to adjust as you install subframe spacers.

5. Remove OEM Subframe Studs: Remove the (4) OEM subframe studs with a 10mm socket

6. Place the Subframe Spacers: place the (4) rear subframe spacers above the subframe and install the provided (4) 24mm x 160mm subframe spacer studs, (4) 30mm washers, and (4) 62mm washers. make sure to attach the two rear subframe support mounts.

7. Torque Subframe Studs and Support Evenly: Torque the (4) 24mm studs evenly to secure the subframe to the vehicle’s body to 165ft-lbs. Tighten down the (2) subframe support 10mm nut to 45ft-lbs.

6. Detach Trailing Arm: Support the bottom of trailing arm and remove the two 19mm bolts at the end of the trailing arm.

7. Support Lower Control Arm: Use a jack to support the lower control arm to relieve pressure from rear shock.

8. Remove Rear Shock: Remove the top (2) 17mm nuts, 22mm lower mount nut and the 19mm nut next to the 22mm lower mount nut.

8. Mark Alignment Bolt: Mark the 19mm alignment bolt with a marker to mark current alignment specs then loosen the 19mm nut but do not to remove it.
9. Loosen End Link and Outer Lower Mount Nut: Remove the 14mm end link bolt first then the 17mm lower mount bolt.
10. Remove Spring: Slowly and carefully lower the jack to decompress the spring. Once decompressed, remove the spring and spring insulator.

11. Install Trailing Arm Extender: Remove the under trim to get better access and secure the trailing arm spacer with (2) 19mm x 60mm bolts, (2) 23mm washers and (2) 20mm crush washers to 75ft-lbs.
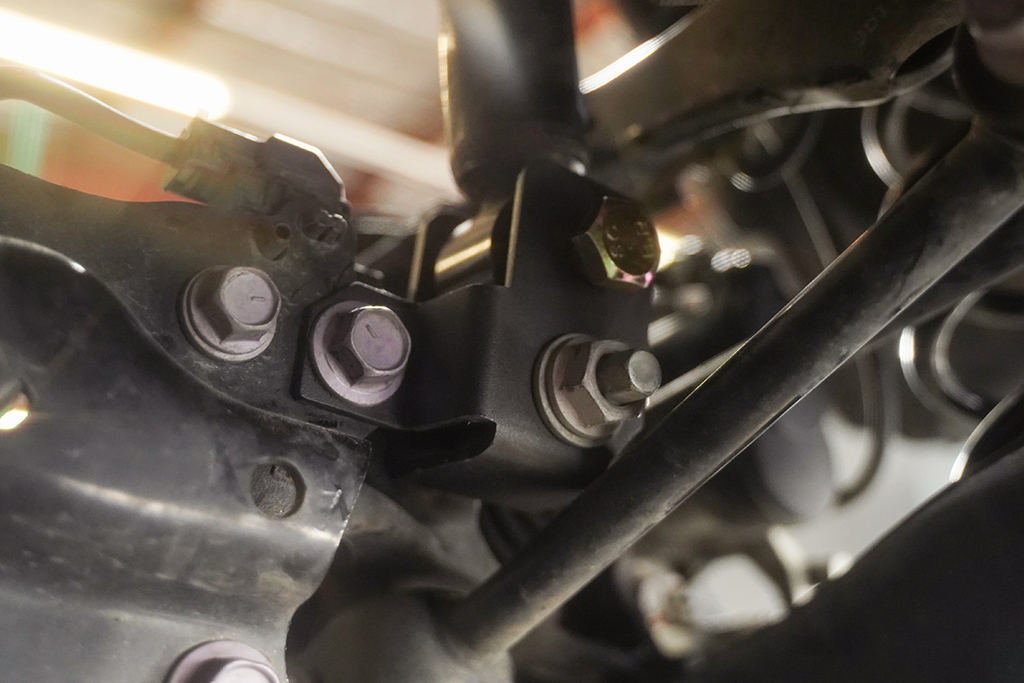
13. Install Rear Shock Extender: Slide in the rear shock spacer mount with 50mm spacer and tighten down the 19mm bolt to 95ft-lbs and the 22mm nut to 120ft-lbs.

14. Install Spring Extender: Place the spring spacer with 16mm x 55mm stud, 49mm washer, and 17mm nut on to the lower mount. Then, place the OEM spring insulator on top of the spring spacer and reposition the spring on top of that.

16. Compress Spring: Use the jack to compress the lower mount and the spring until you reach the mounting hole for the rear end link. Torque to 75ft-lbs.
17. Install Lower Mount Bolt: Continue to compress the lower mount and the spring until you reach the mounting hole for the rear lower mount. Torque to 95ft-lbs.

18. Install Rear Shock: Insert the rear shock into place and torque down the 22mm lower bolt to 120ft-lbs and the (2) top 17mm bolts to 75ft-lbs.

19. Install Wheels: Finally, ensure all components are securely fastened and install the wheels with 21mm Lug nuts to 75ft-lbs. Make sure to let suspension settle for a week before doing an alignment.
Specs Before
Front Wheel Center to Fender : 18 3/4″
Rear Wheel Center to Fender : 19 1/8″
Front Clearance: 7 7/8″
Rear Clearance: 10 3/4
Specs After
Front Center to Fender 20 1/4″
Rear Center to Fender 20 5/8″
Front Clearance: 9 3/8″
Rear Clearance 10 3/4″


