Tesla Model Y F&F Coilover Install
Detailed instructions for Model Y Coilover Install. This step-by-step guide covers everything you need to know, from the tools required to expert tips on ensuring a proper installation. Whether you’re upgrading your suspension or replacing stock components, these instructions will help you get the job done right the first time.
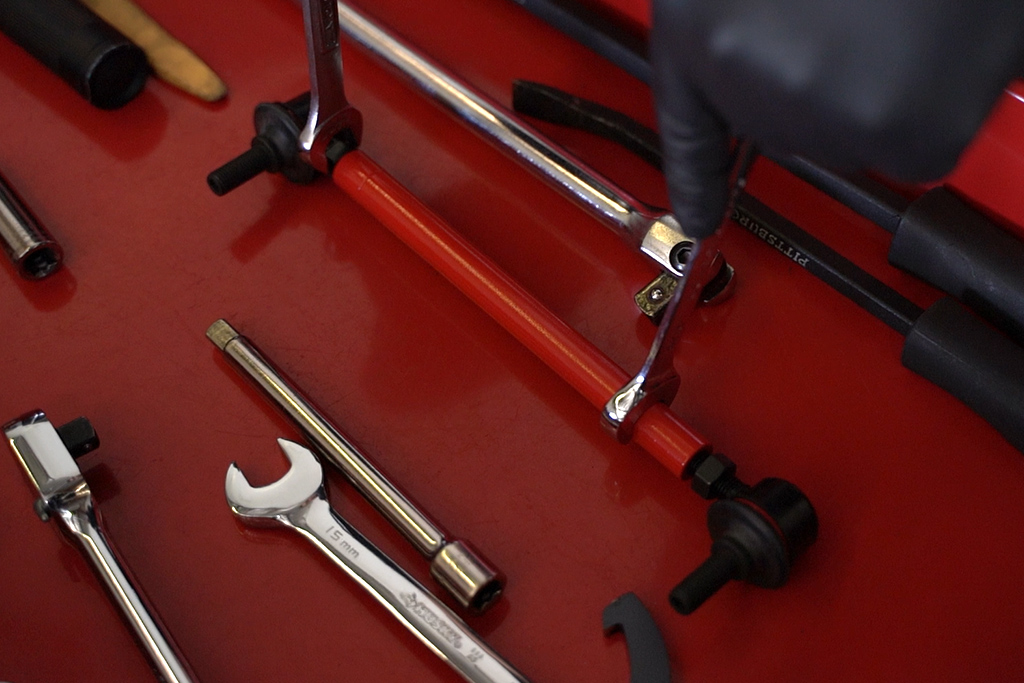
Tools Needed
- Wrench 21mm, 18mm, 15mm
- Impact wrench
- Pry bar
- Breaker bar
- Socket wrench w/ extensions
- Sockets 10mm, 13mm, 18mm, 21 mm
- Torx sockets 40, 50
- Rubber mallets
- Trim removal tools
- Flathead screwdriver
- Flashlight (optional)
- Magnet screwdriver (optional)
Before install measure from fender to center cap and write down for front and rear, determine what you would like it to be and also write those numbers down.
Adjust both front coilover height to the desired height first measured from fender to center cap. Adjust by first loosening lower mount perch (rotate clockwise) then spinning the lower mount to desired height.
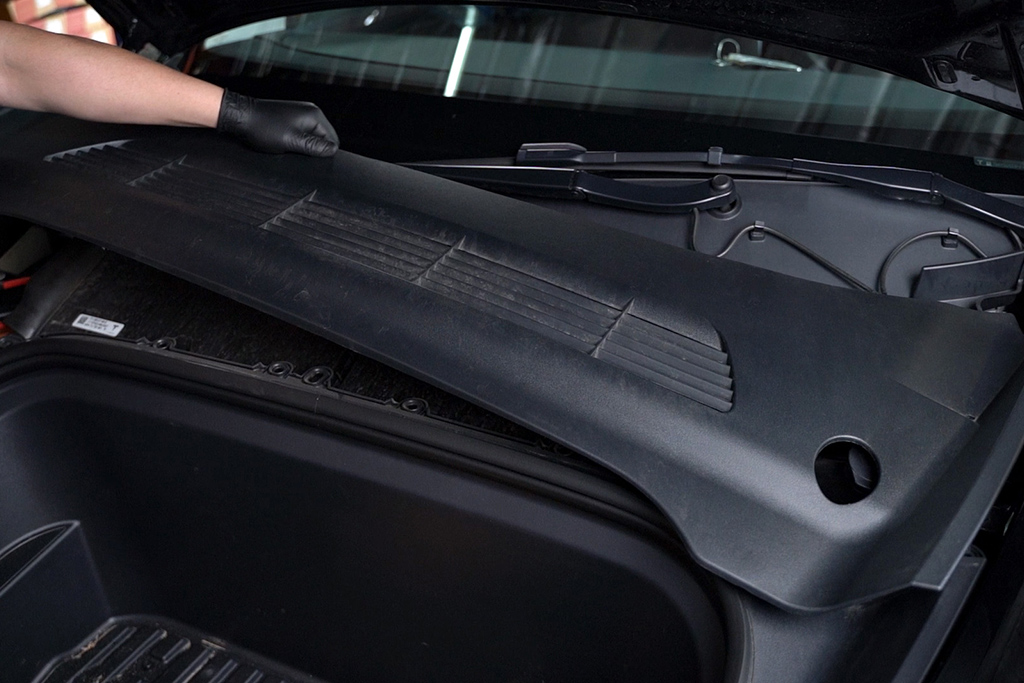
Remove plastic coverings with trim tool by sliding it under its edges to get it to pop off.
Remove four 10mm bolts that hold cabin filter in place than pull from back side to remove.
Use a flathead screwdriver pop off the top of the plastic retainer to remove it, next pull out the fluid reservoir.
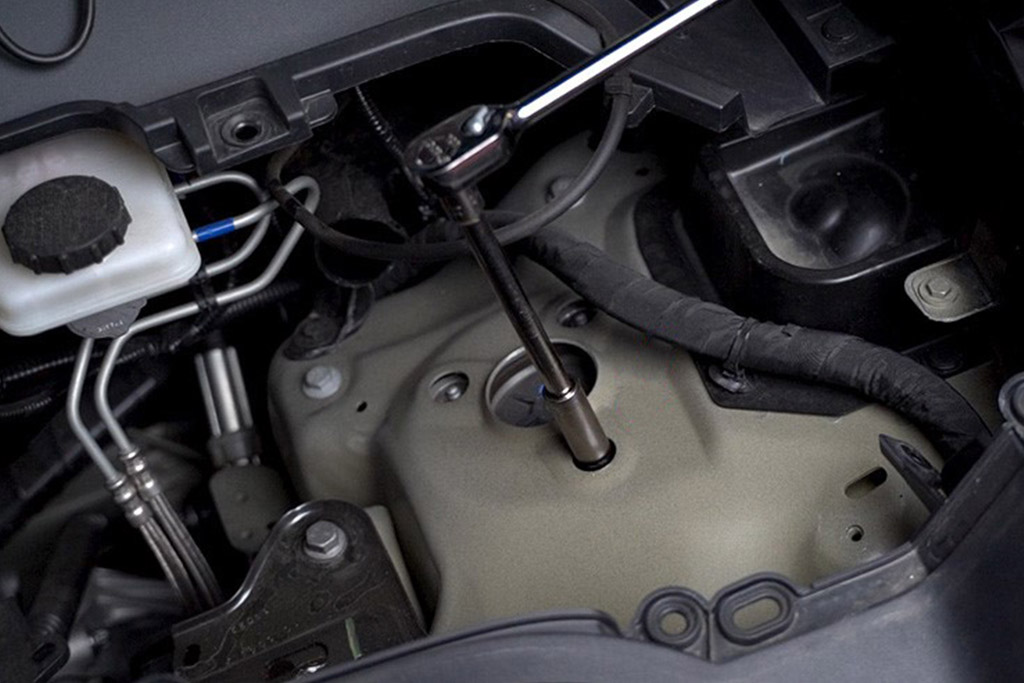
Loosen three 13mm top hat bolts but do not remove them.
Properly jack up vehicle at jack points.
Using a trim tool pry off center caps.
Remove 21mm wheel lug nuts and wheel.
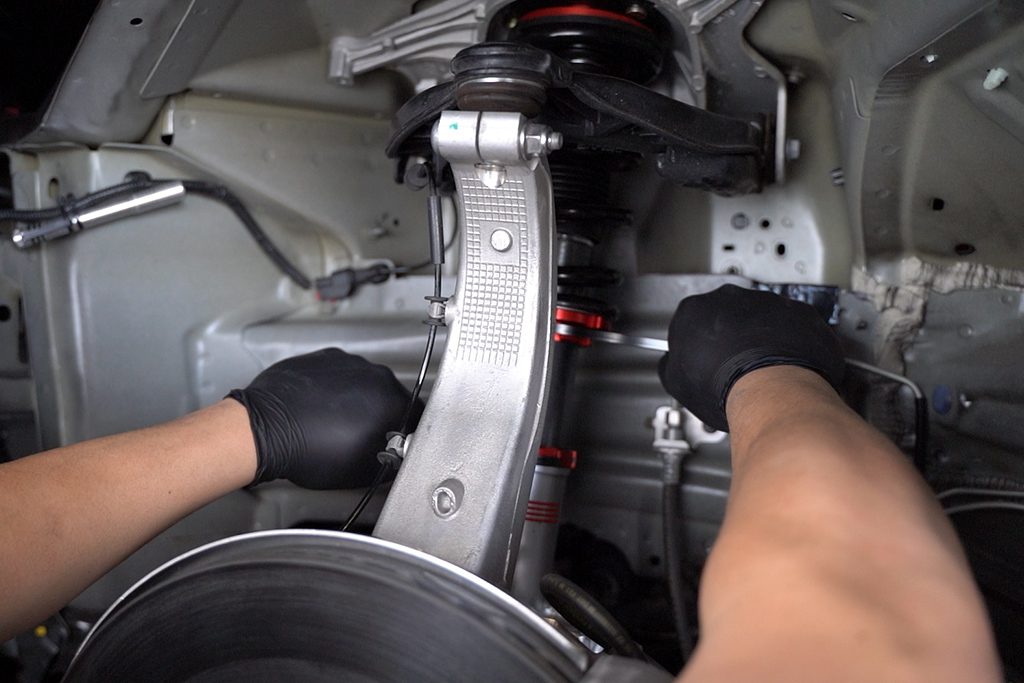
IMPORTANT: Unclip ABS Sensor line from upper control and spindle.
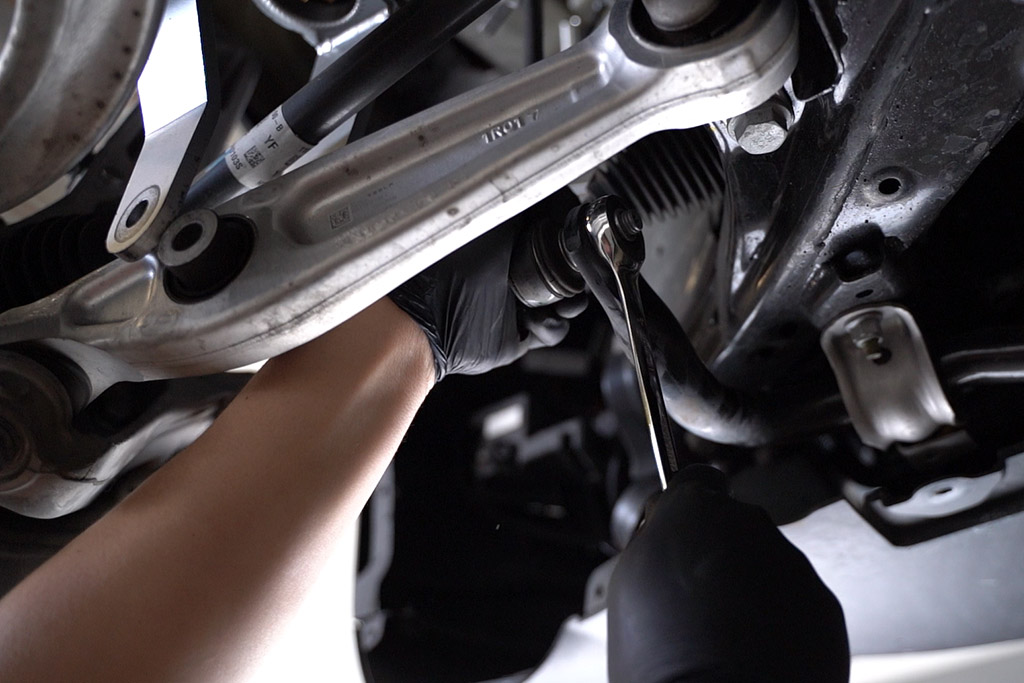
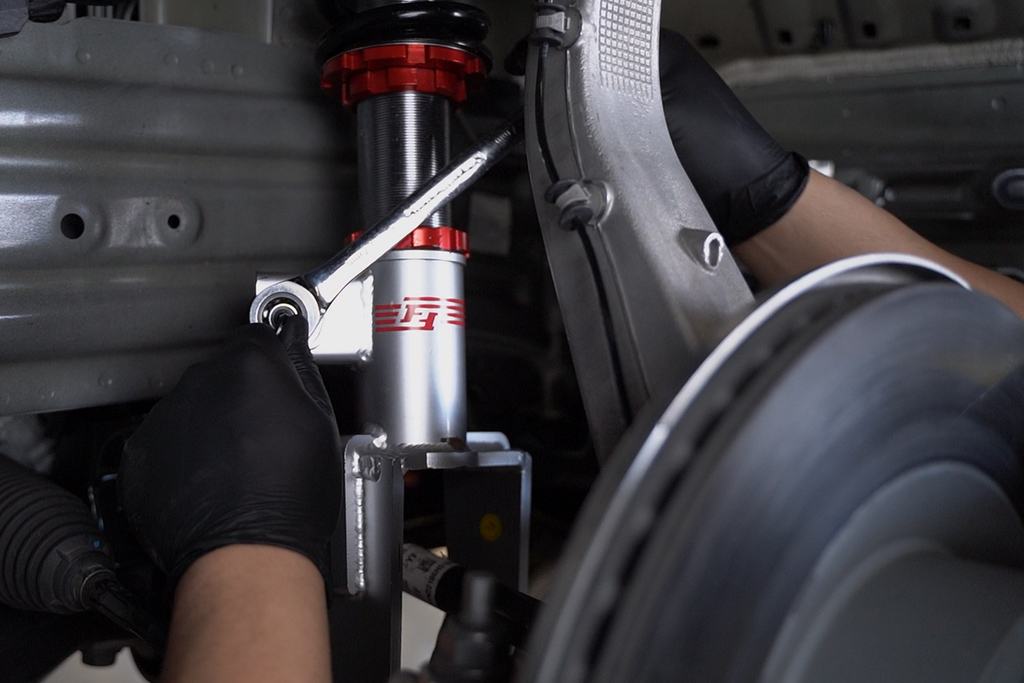
Use 18mm wrench and 40 Torx socket to remove sway bar end link from strut assembly.
Jack up lower control arm bolt to support weight hub and knuckle.
Remove bolt from the top of spindle with 15mm wrench and 50 torx.
Slowly release jack from lower mount to get spindle to release from upper control arm.
Use 21mm wrench and 21mm socket remove lower control arm bolt.
Remove 13mm top hat bolts and be prepared for suspension assembly to come down when removing the last nut.
Use a magnet to remove top hat nuts.
Lift upper control arm to slide strut under and remove.
Insert Type 4 coilover into place by positioning the bottom mount first.
Hand tighten 13mm top hat bolts.
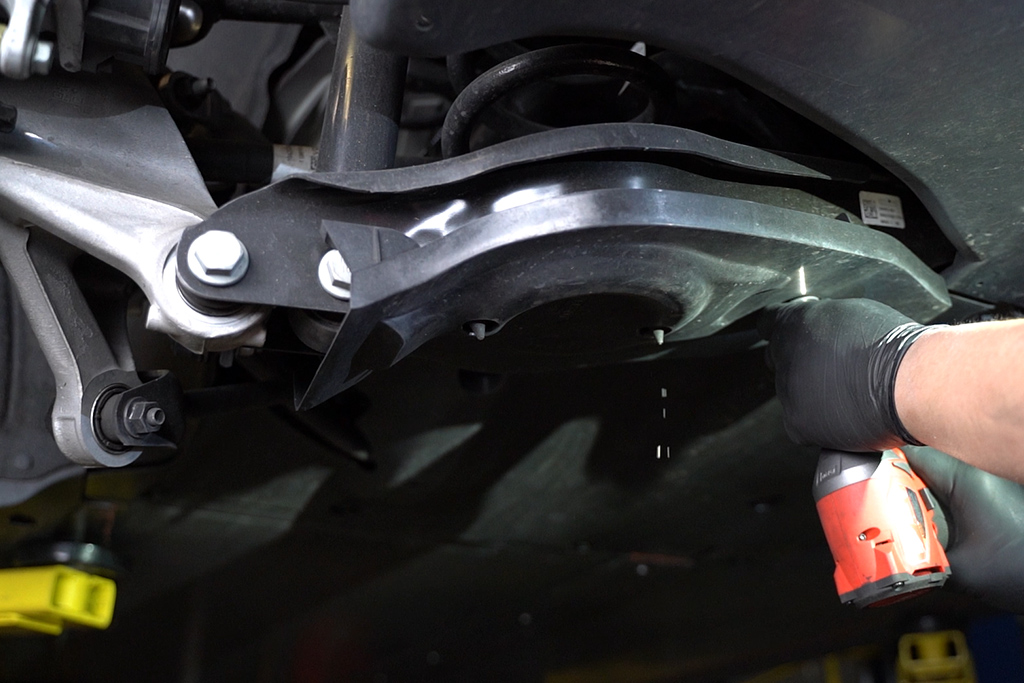
Remove 10mm bolts to remove bottom paneling and get better access to remove sway bar end links.
Use 18mm wrench and 40 Torx to remove end link.
Place lower control arm bolt by lifting spindle so the lower mount holes line up.
Torque lower mount bolt with a 21mm wrench and 21 mm socket. Torque Spec: 106 Nm (78.2 lbs-ft).
Tighten 13mm top hat bolts. Torque Specs: 23 Nm (17.0 lbs-ft).
Raise spindle with jack to get the top of the spindle to connect to top mount.
Use 15mm wrench and T50 socket (T47 in earlier years) to tighten down spindle to upper control mount. Torque Specs : 56 Nm (41.3 lbs-ft).
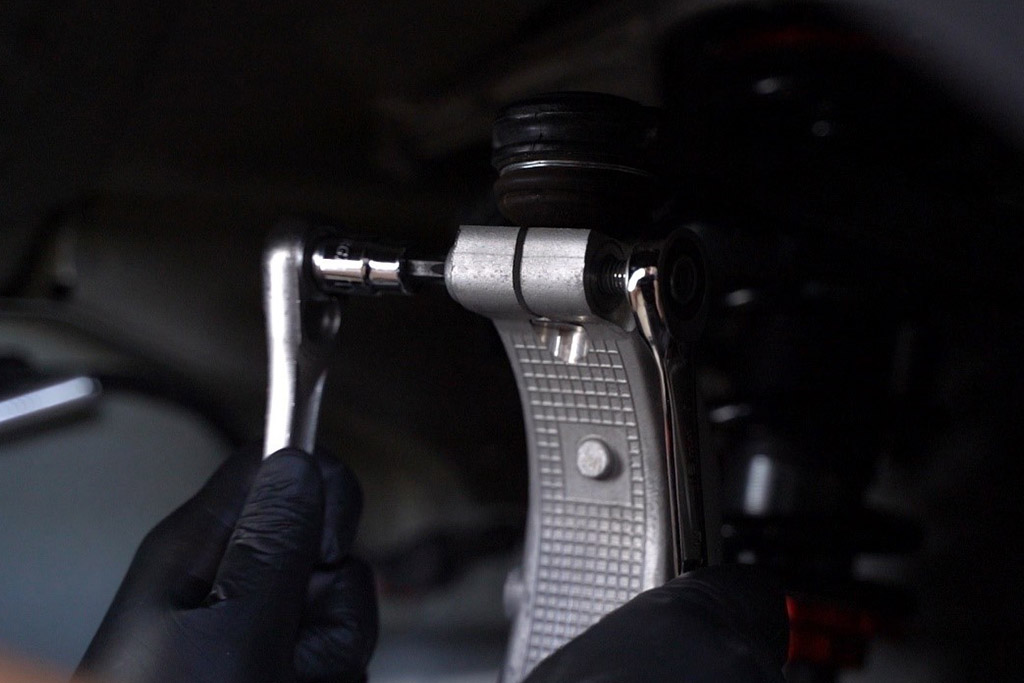
Loosen end links with two 14mm wrenches.
Adjust end links length by rotating and place them into position. You want to adjust the length so that you create a 90 degree angle on both ends.
Use a 40 torx socket and 18mm wrench tighten endlinks. Torque Spec: 98 Nm (72.3 lbs-ft).
Reinstall bottom panel.
Use spanner wrenches that came with your kit to tighten lower mount perch and lower spring perch, recommended to hit with mallet once the desired height is achieved.
Tighten lug nuts in a crisscross star pattern. Torque Specs: 175 Nm (129.1 lbs-ft).
Reinstall cabin filter and reservoir neck for windshield fluid.
Reinstall cabin filter cover.
Complete.
Rear Install
Remove 21mm lug nuts and remove rear wheel.
Remove rear panel with a 10mm socket and slide out once removed.
Jack up the rear spindle in-between and remove both lower mount bolts with a 21mm socket and 21mm wrench.
Use a trim tool remove plastic retainer to get access to rear shock top bolts.
Remove two 15mm bolts to remove rear shock.
Push down lower control arm to get spring out.
Rear height of vehicle will be determined by your rear spring height. Adjust spring perch to get desired height and make sure to lock the perches into place by spinning them in opposite directions with spanner wrenches. Use a mallet to strike the end of wrenches to lock in place.
Remove OEM spring isolator and apply to new rear springs.
Place spring into place with insulator on the bottom.
Remove 16mm nut from top of OEM Shock to remove top hat.
Add OEM top hat to top of Type 4 rear strut and tighten down 16mm nut w/ blue Loctite. Torque Spec: 41 Nm (30.2 lbs-ft).
Torque down two 15mm bolts. Torque Spec: 41 Nm (30.2 lbs-ft).
Support with jack to ensure an easier installation and torque both bolts with a 21mm wrench and 21 socket. Torque Spec: 115 Nm (84.8 lbs-ft).
Spin red perch clockwise until you create a 5mm gap between the top mount. Then spin shock in the threaded section counter clock wise by 5mm to achieve proper spring preload.
Lock perch in place with spanner wrenches (rotate clockwise).
Reinstall Bottom Cover.
Reinstall wheel and tighten down 21mm wheel lug nuts in star pattern. Torque Specs: 175 Nm (129.1 lbs-ft).
This Completes Model Y Coilover Install.
Purchase kit:
Follow us on Instagram


