Function and Form Suspension – Front Lift Leveling Instructions

Welcome to the Lift Leveling Instructions for Function and Form Suspension. This detailed walkthrough provides step-by-step guidance to ensure a smooth and successful installation of your Function and Form Lift Leveling Kit. We’ve included the recommended tools, precise torque specifications straight from the manufacturer, and essential tips to assist you throughout the process. This guide applies to multiple Function and Form Lift Leveling Kits designed for a variety of trucks and SUVs. While installation procedures may vary slightly depending on your specific vehicle model, the fundamental process remains the same. For reference, our test vehicle was equipped with an all-terrain tire setup to maximize the benefits of increased ground clearance. After installation, we recommend scheduling an alignment as soon as possible to allow the suspension to settle and achieve optimal ride quality and performance. A video link is provided at the end of this guide for those who prefer a visual walkthrough.

Important Notice
Modifying your vehicle with aftermarket components may change its handling characteristics and performance, potentially taking it outside the manufacturer’s original specifications. Function and Form Suspension and its affiliates are not responsible for any damages or injuries resulting from the installation of this kit. By proceeding with this modification, you accept full responsibility for any changes it may cause.
Our products are not intended as DIY kits. We strongly recommend that all installations be performed by a certified automotive technician.
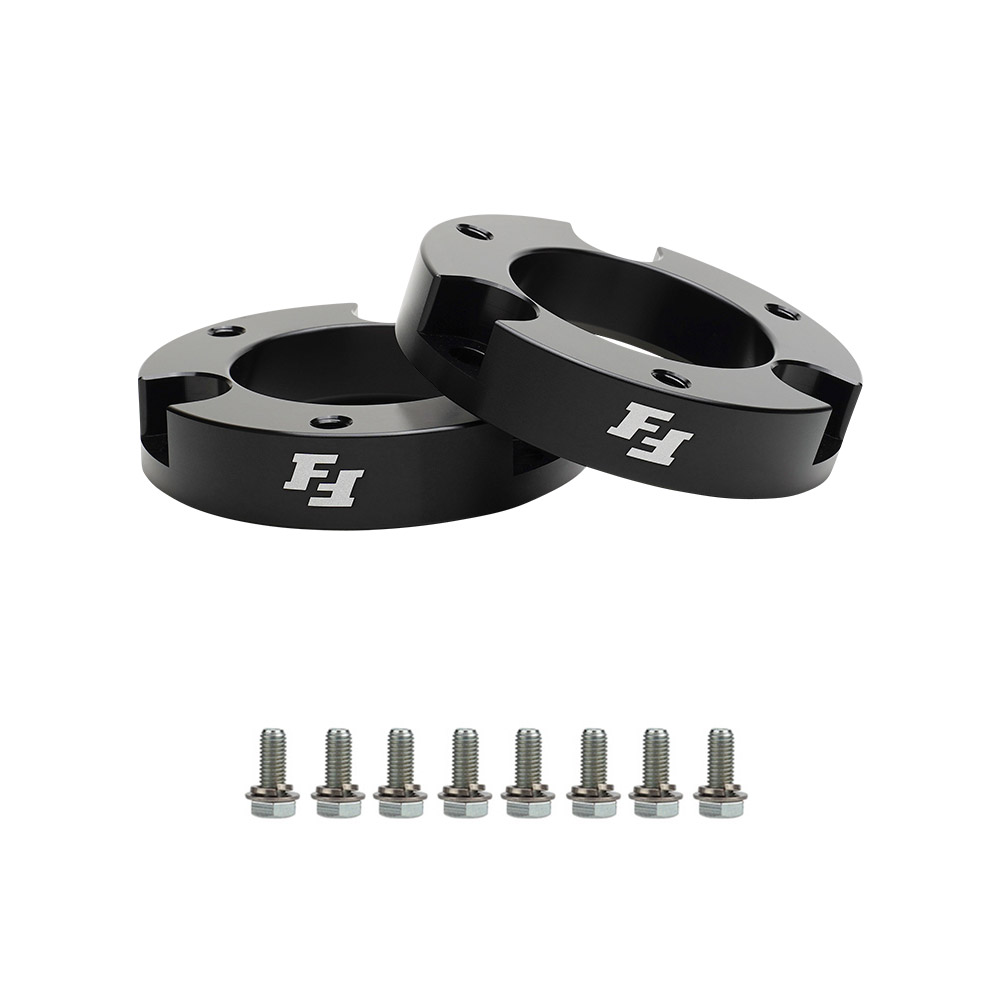
The parts shown in installation images may differ slightly from the actual product depending on the version purchased. However, the installation process remains the same.
It is important to read this entire guide before beginning installation.
This product should only be installed on factory or OEM-equivalent struts to ensure proper fitment.

Lift Height vs. Spacer Thickness
The thickness of the spacer does not equal the lift height in a 1:1 ratio.
1″ thick spacer = 2″ lift height
1.5″ thick spacer = 3″ lift height
Installation Recommendations
Recommended
Have a professional auto shop perform the installation to ensure proper fitment and assembly.
Perform a wheel alignment immediately after installation to prevent uneven tire wear.
If installing yourself, refer to a factory service manual for OEM disassembly and reassembly procedures.
Inspect all suspension components before installation and replace any damaged or worn parts.
Clean mud or dust buildup before starting, as it may make disassembly more difficult.
Consult a certified technician if you are uncertain at any step.
Not Recommended
Never work under a vehicle that is supported only by a hydraulic jack. Always use jack stands.
Required Tools
Torque Wrench
Socket Wrench Set
Impact Wrench
Hydraulic Floor Jack
Jack Stand Set
Pry Bar
Heavy-Duty Hammer Set
Installation Instructions
Front Lift Leveling Instructions
Safely lift the vehicle using a hydraulic jack and secure it on jack stands positioned at the frame. Remove the front wheels.

Starting on one side of the vehicle, disconnect the sway bar end link from the steering knuckle.
Remove the mounting bolts securing the brake line and wheel speed sensor wire.
Ensure the brake line remains connected but handle it carefully to avoid overstressing it.
Remove the upper ball joint by taking out the cotter pin and nut. If needed, lightly strike the top of the steering knuckle with a mallet to help loosen the joint. Avoid using a pickle fork, as it may damage components.

Remove the three nuts securing the upper strut mount. Do not remove the center nut on the strut assembly, as improper removal could cause damage.

Remove the nut and bolt from the lower strut mount, then take out the entire strut assembly from the vehicle.

Place the strut spacer on top of the strut assembly, aligning it with the studs. Secure it using the factory nuts and torque them to 47 ft-lbs.

Reinstall the strut assembly into the vehicle. Secure it at the upper strut mount with the provided washers, lock nuts, and bolts then torque them to 47 lb-ft.

Reattach the lower strut mount to the control arm. The strut may need to be rotated for proper alignment. Torque the lower strut mount nut to 100 lb-ft.
Reconnect the upper ball joint to the steering knuckle. If necessary, use a floor jack to slightly raise the lower control arm to assist in reattaching the joint. Torque the ball joint nut to 81 lb-ft. then install a new cotter pin.
Reattach the sway bar end link to the steering knuckle.
Reinstall the brake line and wheel speed sensor wire using the original mounting bolts.

Repeat these steps on the opposite side of the vehicle. Once complete, reinstall the wheels and lower the vehicle to the ground.
Final Check: Ensure the suspension components move freely and are not binding before driving the vehicle.
This completes the Function and Form Front Lift Leveling Instructions.

Learn about us here
Follow us on Instagram